2025
Autocraft Alex (Side Projects)
- Problem
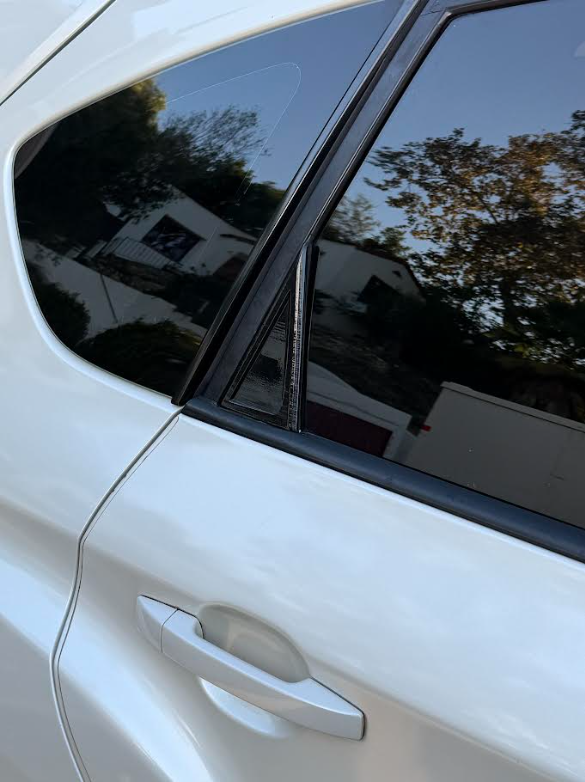
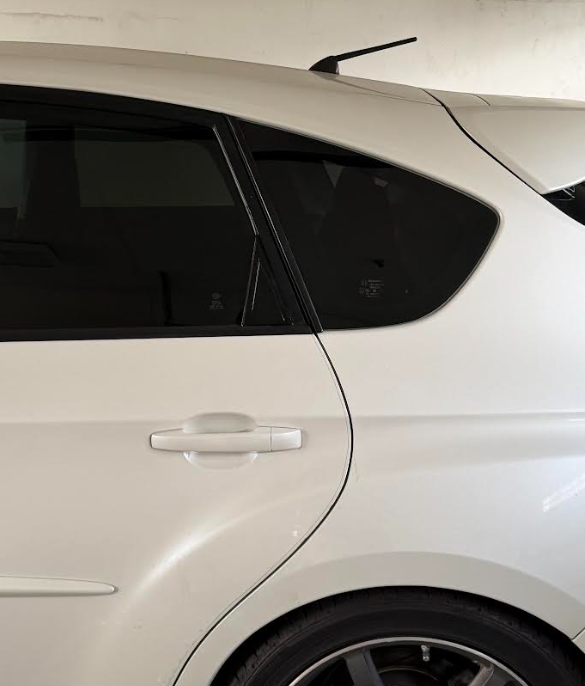
- A small door trim piece broke and needed a replacement that matched the original fit and finish.
- Approach
- I reverse engineered the part in Shapr3D from photos and measurements, then printed it in ASA and finished it in gloss black.
- Result
- The part installed cleanly and has survived over 700 miles of driving, including a trip from Los Angeles to Davis.
Autocraft Alex (Side Projects)
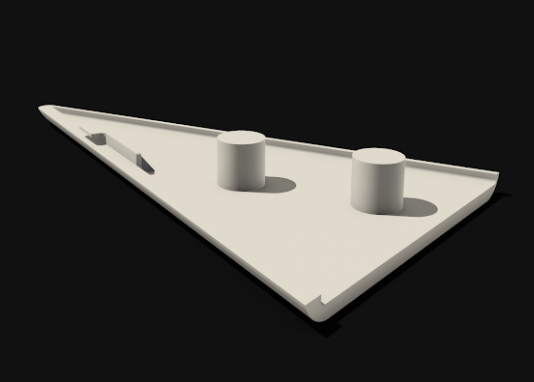
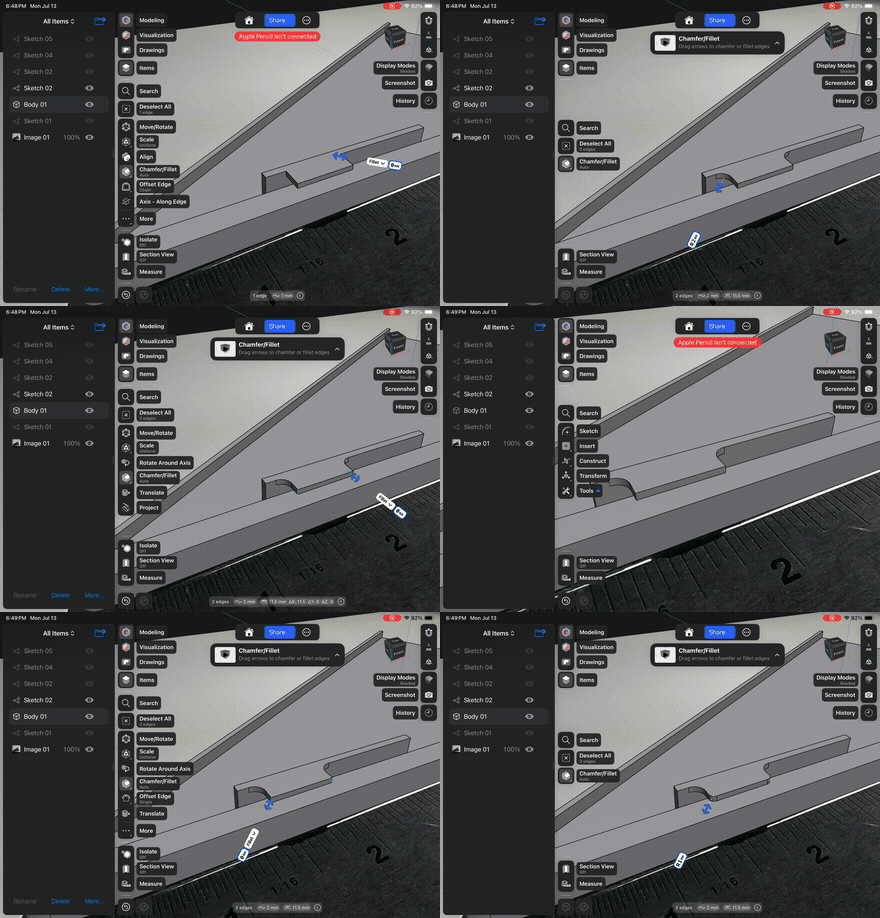
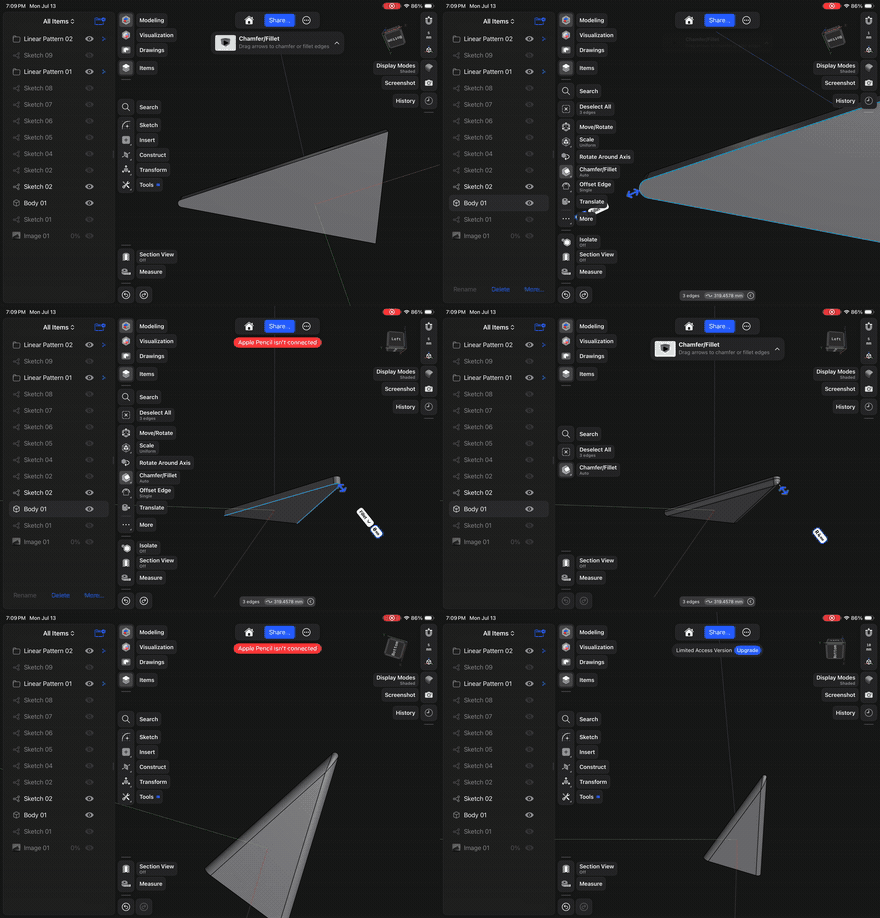
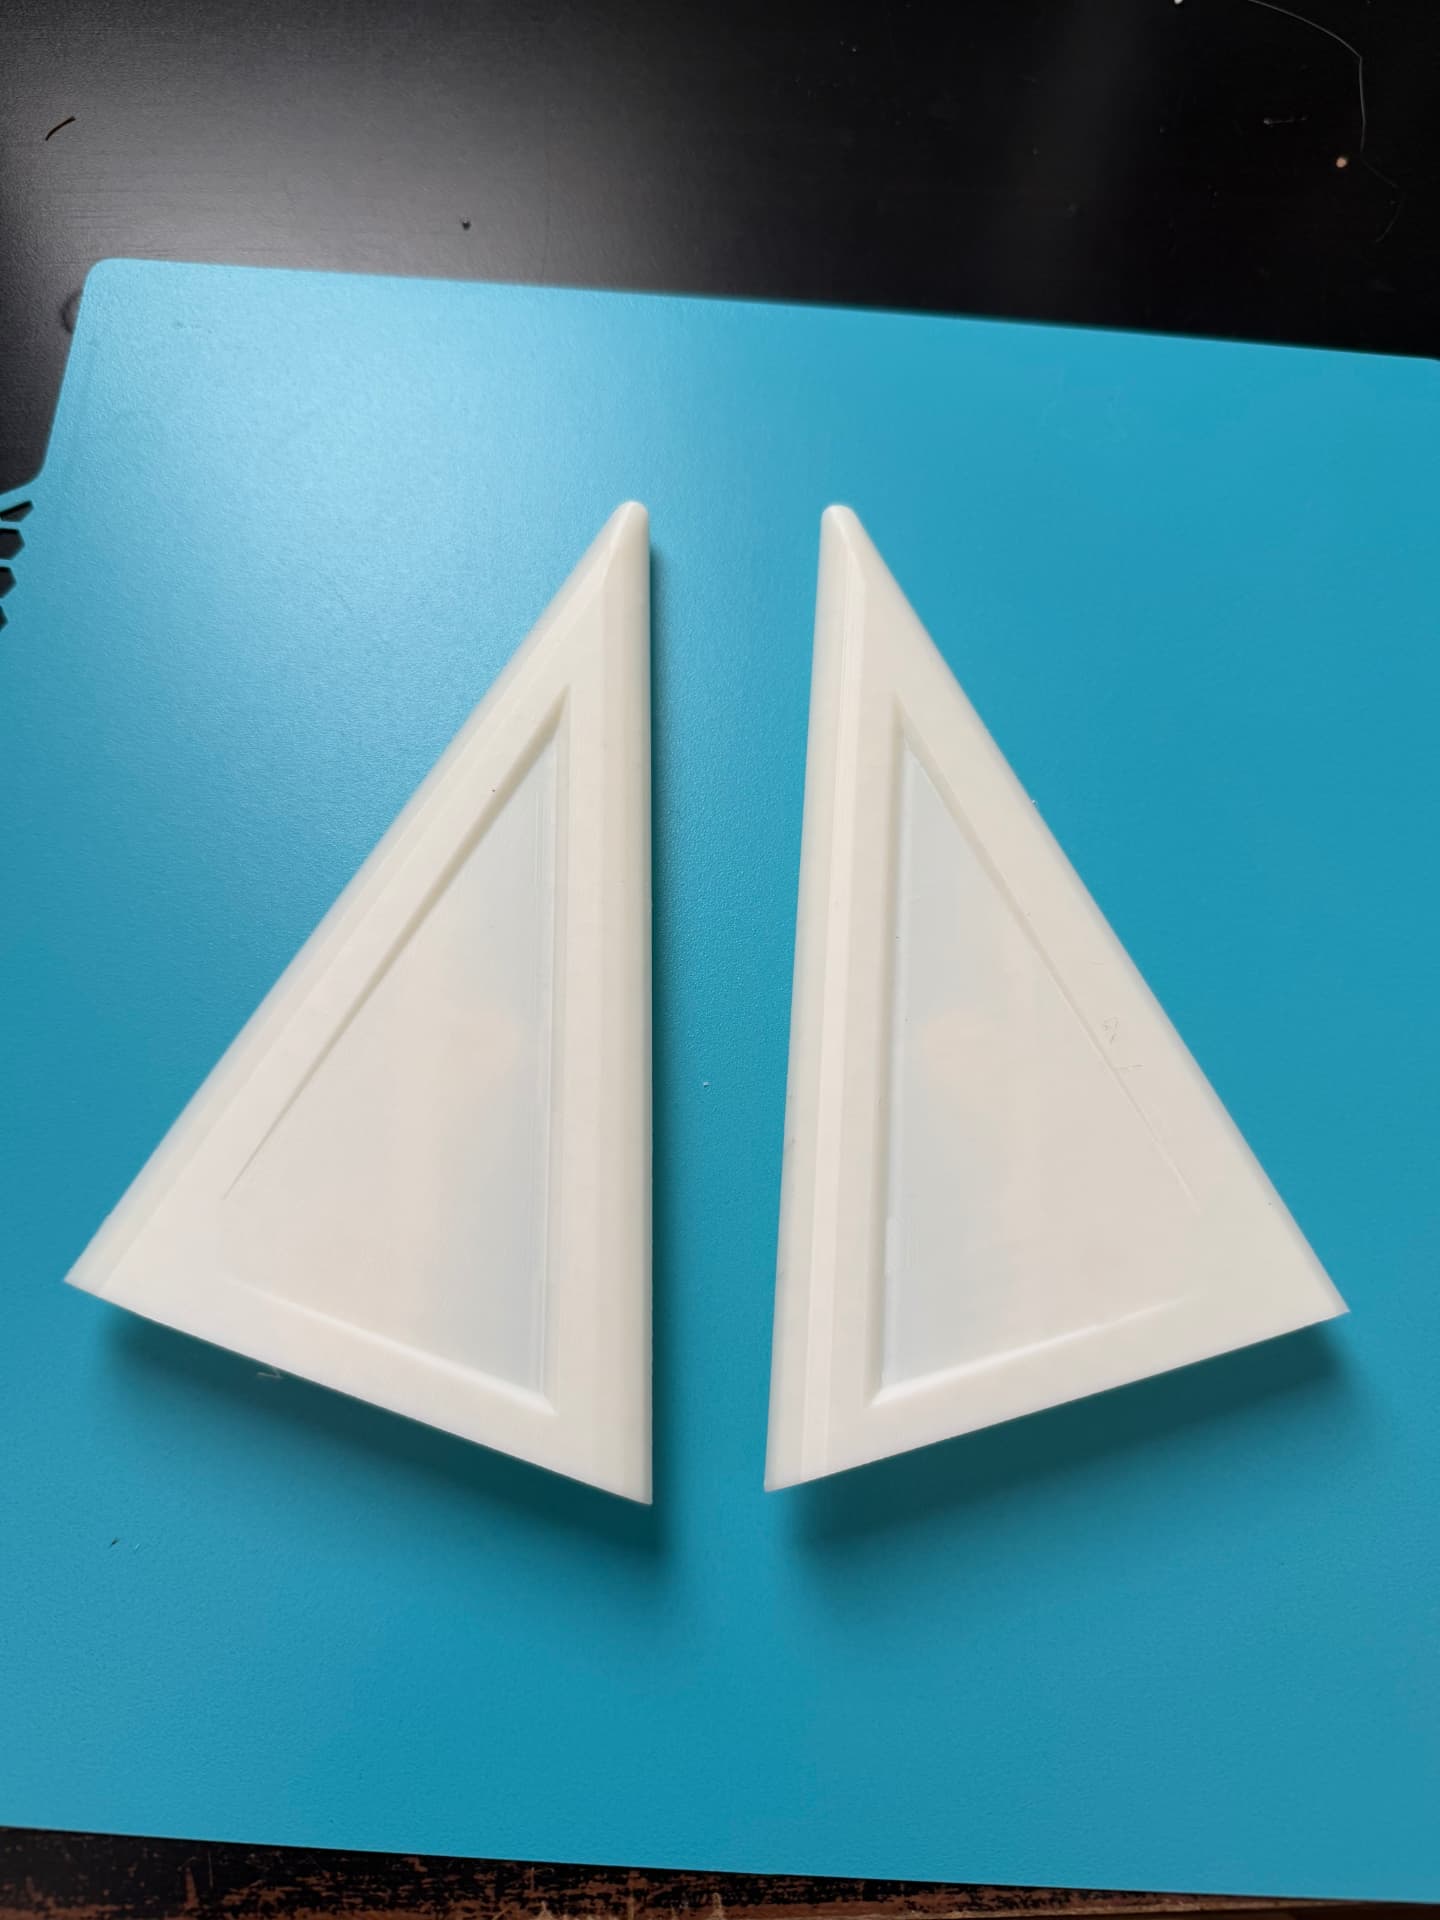
After a small door trim piece on my car broke, I decided to recreate it rather than purchase a replacement. I began by photographing and measuring the original part, then used those measurements to reverse engineer the geometry in Shapr3D. Starting with a sketch based on the original dimensions, I built up the part through a series of extrusions and added my own design details to give the replacement a more finished appearance.
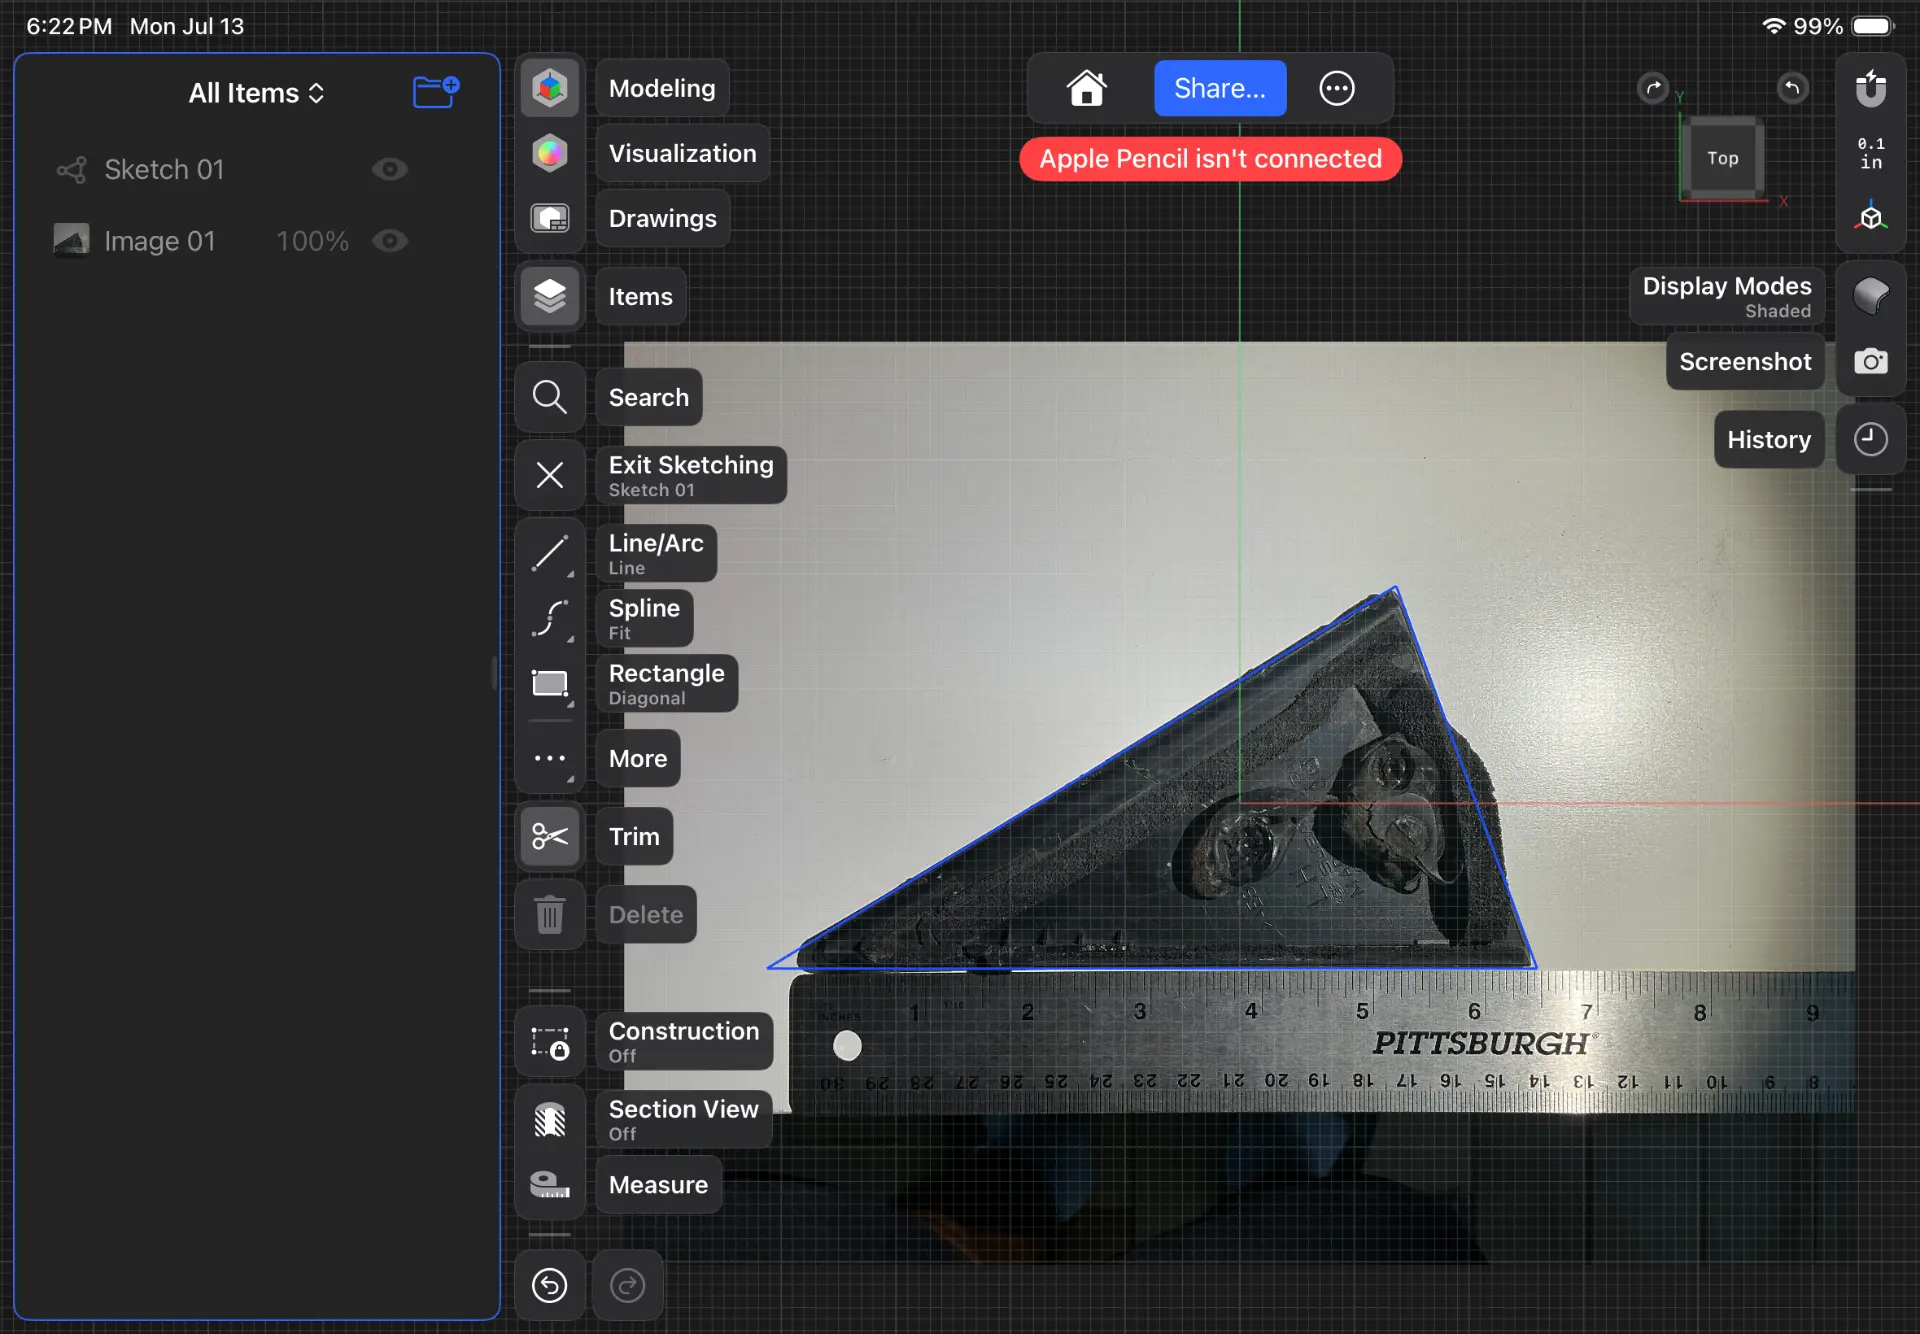
The most challenging part of the process was recreating the mounting tab that interfaces with the car. Because the fit had to be precise, I went through several iterations before getting the geometry and tolerances correct. Once the mounting feature was dialed in, the remainder of the design became primarily a matter of refining the dimensions and surface details.
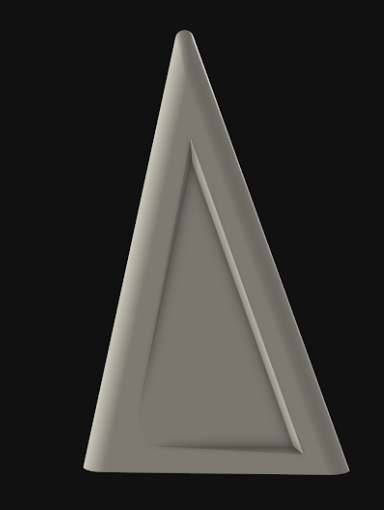
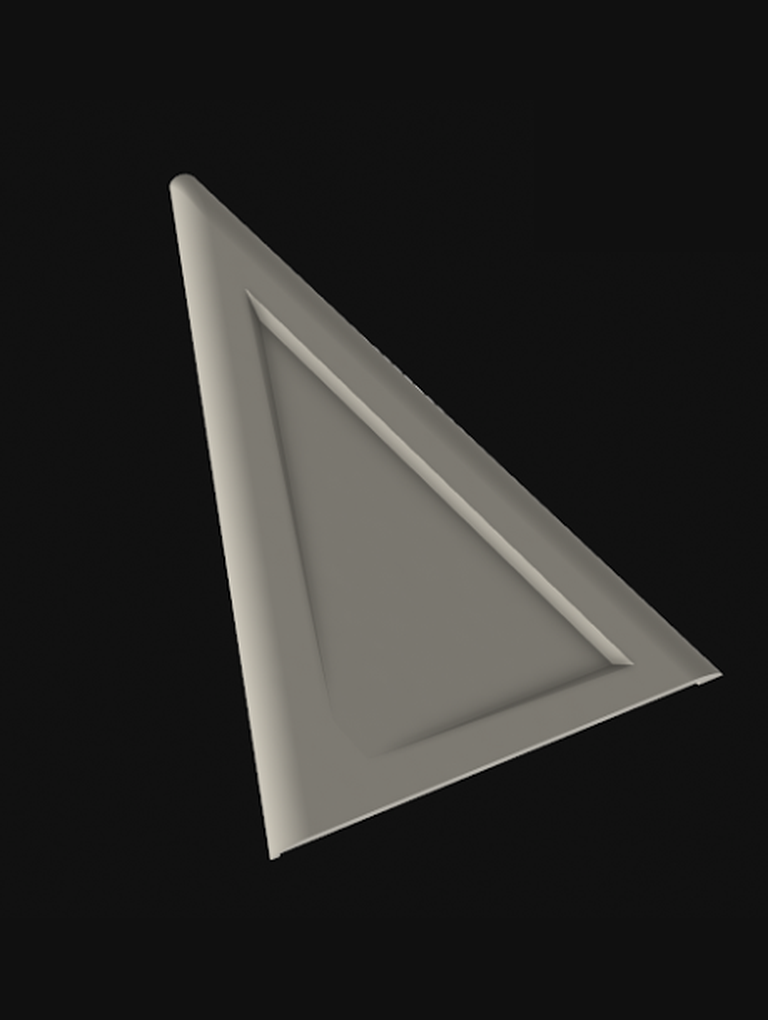
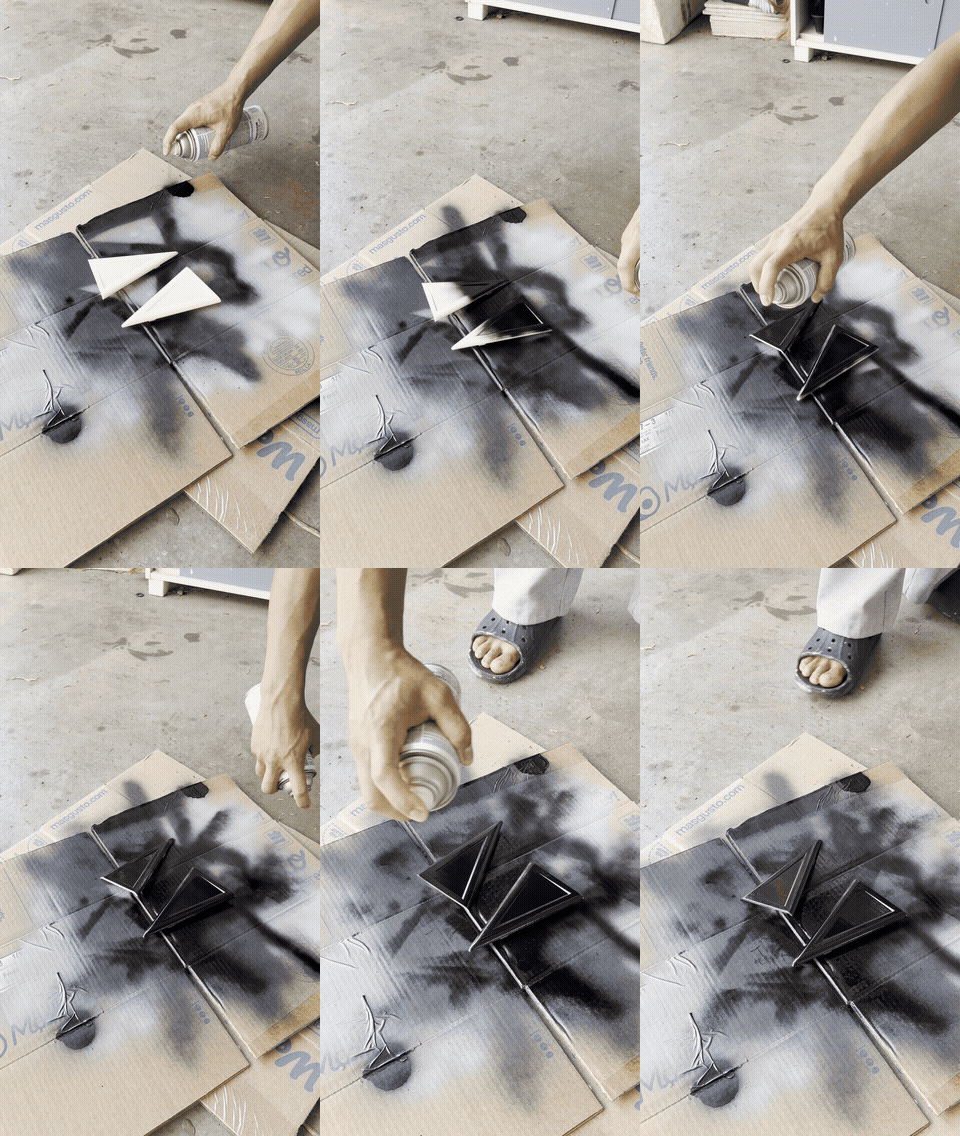
I manufactured the final part in ASA on a Bambu Lab P1S, then sanded and finished it with a black gloss coating to match the surrounding door trim. The finished part has now survived more than 700 miles of driving, including a road trip from Los Angeles to Davis. This project was a simple example of how reverse engineering, CAD, additive manufacturing, and iterative prototyping can be used to solve a real problem while also creating an opportunity to add a small amount of custom design to an existing product.
Gallery